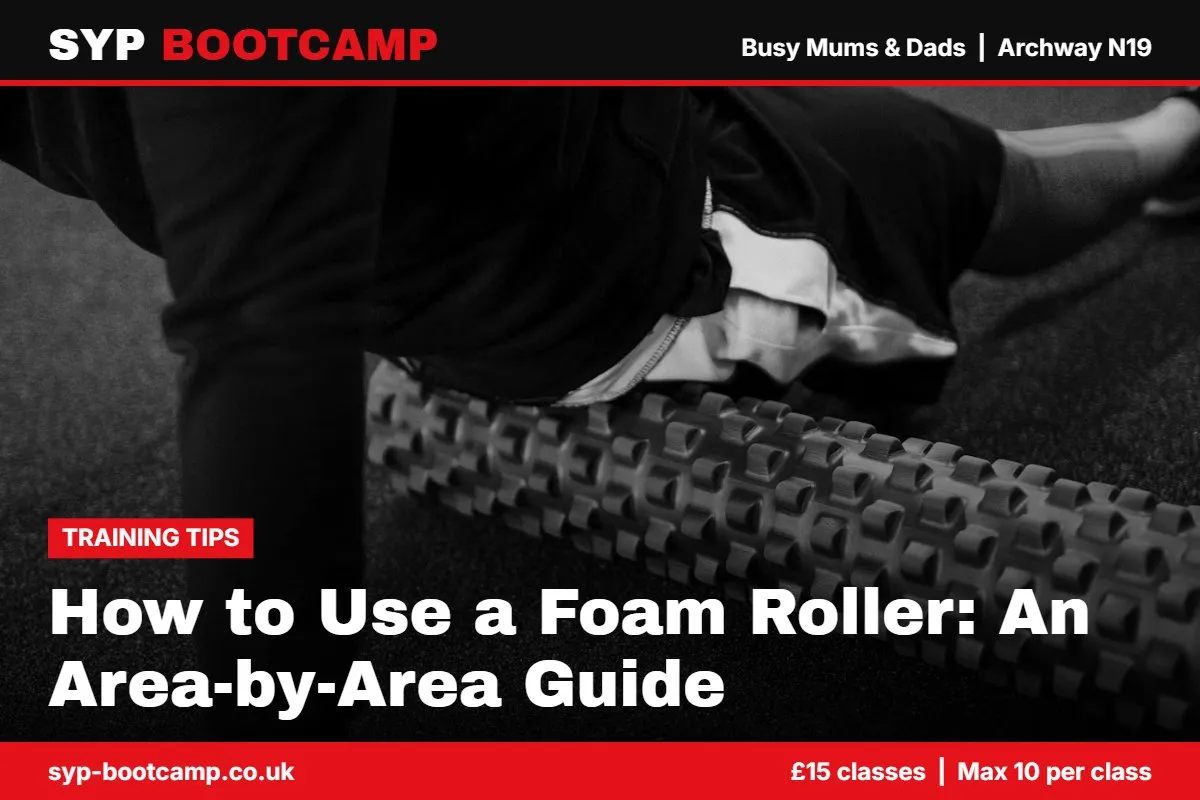
How to Use a Foam Roller: An Area-by-Area Guide
Two days after a new workout, you are walking down the stairs like a newborn giraffe. Someone suggests a foam roller, you buy one, and then it sits in the corner because nobody told you what to actually do with it. This guide shows you how to use a foam roller area by area, how long to spend on each spot, and, just as important, what rolling can and cannot do for you.
The short version: rolling is a useful, pleasant tool for feeling looser, but it is not magic and it does not replace sleep, sensible training or seeing a physio when something is actually wrong.
What a foam roller can and cannot do
There are a lot of big claims about foam rolling. Here is my honest take, based on what the research generally suggests and what I see in clients:
What it can do:
- Give you a short-term increase in how far you can move, for example a looser feeling in your hips before a workout.
- Make muscles feel less sore and tight for a while after a hard session.
- Feel relaxing, a bit like a cheap massage, which on its own is worth something at the end of a long day.
What it cannot do:
- “Break up” fascia or scar tissue. You cannot physically reshape tissue that tough with your bodyweight on a tube of foam.
- “Flush out lactic acid”. Lactate clears on its own within an hour or so of exercise, and it is not what causes next-day soreness.
- Fix an injury. If something hurts sharply, is swollen or is not getting better, rolling it will not solve the problem.
- Replace a warm-up, rest days or strength work.
If you want to understand next-day soreness better, my posts on muscle soreness after exercise and how long DOMS lasts explain what is going on.
How to use a foam roller: the basics
- Go slowly. About 2 to 3 centimetres per second. Rolling fast just feels like being on a rolling pin.
- Breathe. If you are holding your breath or wincing, you are pressing too hard.
- Aim for 6 or 7 out of 10 discomfort, never more. It should feel like a firm massage, not pain.
- Pause on tender spots for 20 to 30 seconds while breathing out slowly, then move on.
- Control the pressure with your hands and feet. Take more weight through them to make it lighter.
- Keep it short. 30 to 90 seconds per area is plenty. A whole-body roll takes about 10 minutes.
Area-by-area foam rolling guide
Calves (60 seconds each leg)
Sit with the roller under one calf, hands on the floor behind you. Lift your hips and roll from just above the ankle to just below the knee. Cross the other leg on top for more pressure.
Hamstrings (60 seconds each leg)
Sit with the roller under the back of your thighs. Roll from just above the knee to just below your bottom. Do one leg at a time if you want more pressure.
Quads (60 seconds each leg)
Lie face down on your forearms with the roller under your thighs. Roll from just above the knee to the top of the thigh. Bend the knee of the leg being rolled for a deeper feel.
Glutes (60 seconds each side)
Sit on the roller, cross one ankle over the opposite knee and lean towards the crossed leg’s side. Roll gently in small movements. This is one of the best areas to roll for people who sit all day.
Outer thigh and hip (30 to 60 seconds each side)
Lie on your side with the roller under the side of your hip, just below the bony point. Support yourself with your top leg on the floor in front. Roll a short distance down towards the knee. Note: the IT band itself does not really “release”, and rolling it can be very uncomfortable. Spend most of your time on the muscles at the top near the hip instead.
Upper back (60 to 90 seconds)
Lie on your back with the roller across your shoulder blades, hands supporting your head, hips on the floor or lifted. Roll from the middle of your back up to the top of your shoulder blades. Then pause and gently extend back over the roller at a few spots. Great for desk shoulders.
Lats (45 seconds each side)
Lie on your side with your bottom arm stretched overhead and the roller just under your armpit. Roll a short way down the side of your ribs.
Areas to avoid or go easy on
- Lower back: do not roll directly on the lower back, as there is no bony cage to protect it. Roll the glutes and upper back instead.
- Neck: skip it.
- Joints and bony points: such as the knee cap and the bony bit at the side of the hip.
- Fresh injuries, bruises or swelling: leave them alone. NHS Inform has a helpful guide on pain and injuries after exercise that explains when to rest and when to get help.
If you have osteoporosis, varicose veins, a blood clotting problem, are pregnant or have a medical condition affecting your circulation, nerves or bones, check with your GP or physio before using a foam roller. The NHS page on osteoporosis explains why fragile bones need care with pressure and impact.
When to foam roll
- Before a workout: a quick 3 to 5 minutes on tight areas, followed by your normal warm-up. Keep it brief so you do not feel sluggish.
- After a workout or in the evening: 5 to 10 minutes as part of your cool-down. Pair it with a few of my cool-down stretches.
Where a bootcamp class fits
In my SYP Unlock mobility class we use rolling as a warm-up tool before moving through hip and back mobility work, which is where most of the lasting change comes from. I will show you how much pressure to use and which areas are worth your time, so the roller does not just gather dust at home.
FAQs
How long should you foam roll each muscle?
Around 30 to 90 seconds per area is enough. Longer is not better and can leave you feeling bruised.
Should foam rolling hurt?
It can be uncomfortable, but it should not be painful. Aim for about 6 or 7 out of 10. If you are tensing up or holding your breath, reduce the pressure.
Is it better to foam roll before or after exercise?
Both are fine. Before exercise, keep it short and follow it with a proper warm-up. After exercise, use it as part of your cool-down.
Which foam roller should a beginner buy?
A smooth, medium-density roller is the best place to start. Hard or spiky rollers are often too intense for beginners and can make you tense up rather than relax.
Book your first class
If you would like help with tight hips, a stiff back or post-workout soreness, come along to a class. SYP Bootcamp runs 45-minute small-group classes in a weatherproof church hall in Archway N19, with a maximum of 10 people and options for every fitness level, at £15 a class. Book your £15 class here or call or WhatsApp me on 07301 512215. If you are working around an ongoing injury, my injury-safe personal training gives you one-to-one support.
About the author
Artem Olekhnovych is a personal trainer in Archway and the founder of SYP Fitness and SYP Bootcamp. He has coached clients in Archway, Highgate and across North London for over 10 years, and runs small-group bootcamp classes for busy mums and dads. Read reviews from his 1-1 clients.
